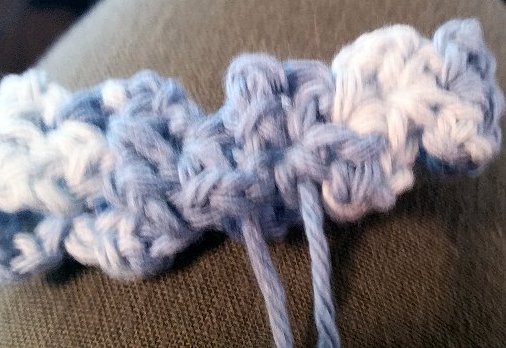
I tried a couple of different ideas for making the bracelets. I settled on a cotton yarn so that it would have good absorbancy and "hold onto" the oils dropped onto them. The first bracelet I made was a closed circle - (I joined the 2 ends). This worked fine - but I started thinking about my friend's grandkids and the fact that they were different ages. Each bracelet would have to be custom-sized for the wrist that would wear it. Could be done -- but wouldn't it be easier to have an adjustable bracelet? A little trial and error resulted in the product shown above. You simply hold the strings while pushing up the bead until the bracelet fits snugly. It's a good idea I hoard craft supplies! I already had a bag of pony beads and plenty of different cotton yarns to work with to develop the following pattern: Basic Pattern 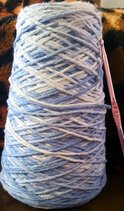 For the bracelet pictured above I used a cotton yard that I had on a spool -- can't tell you the exact weight as it has been sitting in my stash for some time and I think it originally came from a yard sale or something. But it is the type you would use to make washcloths or dishcloths. I found a size "G" aluminum crochet hook in my pencil holder next to my chair so that's what I used for a hook! Chain 3. (leave a bit of a tail - you will use it later) Place hook in first stitch (3rd from hook) and make a shell (Shell=1 sc, ch2, 1sc in same stitch)
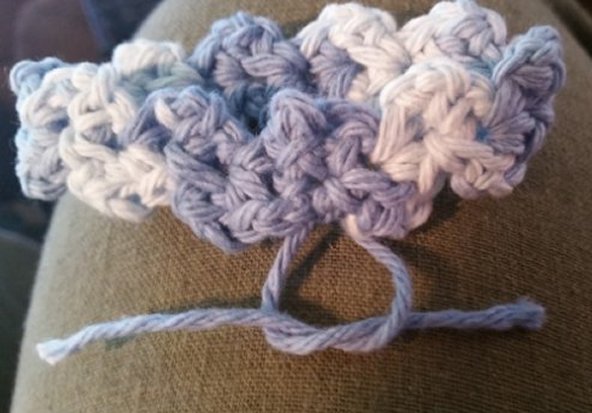
When you reach the desired length cut the yard a couple inches out and pull through last loop. This will give you another tail to work with. You can join the 2 sides of the bracelet using a needle, but I simply weave the tail from one side through the stitches on the other, then tie the 2 tails together and weave in the loose ends.
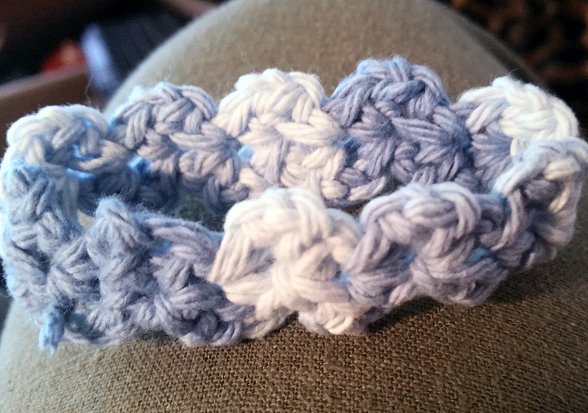
You should now have a perfectly serviceable bracelet. This stitch allows for some stretching to get it over your hand, but in order to make it adjustable there are just a few more steps: Make a chain just an inch or two longer than the circumference of the bracelet and fasten off. (keep in mind that when bracelet is tightened it will make the strings longer, so I usually go shorter rather than longer on the chain). The shell stitch leaves a little hole at the center of each shell. I use my hook to weave the chain in and out of these holes all the way around the bracelet. You will want to end on a hole that leaves both ends of the chain hanging on the outside. Pull and adjust until both sides of the chain are of equal length.
If you are looking for ideas on which essential oils to use as bug repellent, you can check out my post: Repel Pests with Essential Oils. While this cotton yarn made a great bracelet for holding oils and was sturdy enough to hold up to kids, I wanted something a little more feminine that I could wear at work and drop my favorite custom blend onto. (Vetiver, Sandalwood, Frankinscense with just a touch of Lavender and Lemon). I had some black cotton thread that I thought would do. I dug up one of those little bitty aluminum hooks for this project and started to work the same pattern. Turns out that the pattern I used above made just a sliver of a bracelet when using Cotton thread and a smaller hook so I modified the pattern a bit. I started with ch 6 and made 2 shells per row (no extra ch between shells - only the ch 2 and the end of each row) It made a nice lacy-looking bracelet. I did not add the chain to adjust size since I made it just to fit me, but I did add a little "button" on the top to hold the essential oil. There's no pattern for the button because I didn't write anything down. I basically just made a small circle (like the first few rows when making a doily) then started decreasing the edge so it curled back in on itself. I kept reducing until I was back to just 1 stitch. I sewed it onto the bracelet with the same black thread it was made from and it turned out pretty good :)
More info on modification made later:
It doesn't take long for the lacy bracelet made from cotton thread to stretch out to a point where it doesn't spring back into shape. I promised to send my Auntie a bracelet and a little bottle of my special blend, but she needed one that could be adjusted and tightened as needed. For her bracelet I added the chain that wove through the length of the bracelet. (like in the first pattern) Because the thread was so small, I used one of my jade beads that had a much smaller hole than the pony beads. I have enjoyed playing with different variations of this bracelet because they are so quick and easy to work up. Hope you will enjoy it too.
0 Comments
Your comment will be posted after it is approved.
Leave a Reply. |
Categories
All
Archives
December 2018

AuthorI'm a curious-by-nature 50-something with random interests. Come visit often to see what the latest topic is.  |


 RSS Feed
 My Favorite Jars!